
How to Set Up a Cybersecurity Lab with VMware Workstation Pro
To practice cybersecurity and ethical hacking safely, you need a dedicated lab environment. In this guide, we’ll walk through setting up a cybersecurity lab with VMware Workstation Pro and installing Parrot OS, a Linux distribution designed for penetration testing and digital forensics. This setup will give you a safe space to experiment without risking your host computer.
Environment Layout
What You'll Need
Before setting up your lab, ensure you have a desktop or laptop with at least 16 GB of RAM, at least 4 GB of spare memory to allocate to your VM, and sufficient disk space (20 GB+ recommended).
Step 1: Download VMware Workstation Pro
VMware Workstation Pro is now free for personal use See This Broadcom Blog Post, making it one of the best tools for building a cybersecurity lab in 2025. Go to the Broadcom website, register for a free account, and download the Windows or Linux version from the Workstation Pro page. VMware Workstation Pro (Broadcom)
Step 2: Download Parrot OS (Security Edition)
Instead of Kali Linux, this tutorial uses Parrot Security OS Parrot Security OS Downloads because it’s lightweight and comes preloaded with penetration testing tools. Go to the Parrot OS official site, select Virtual Machines → Security Edition, and choose the VMware Image (VMDK) for the best compatibility.
Building the Virtual Machine
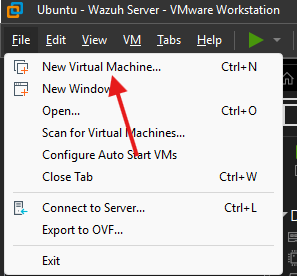
Step 3: Create a Virtual Machine in VMware
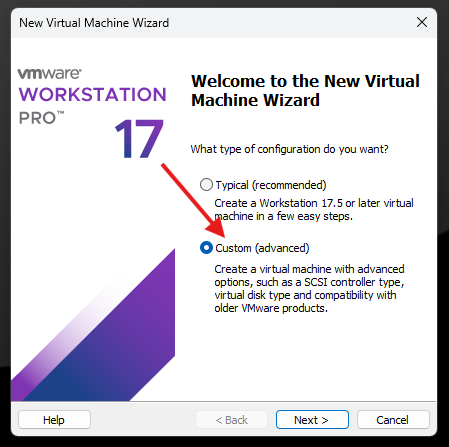
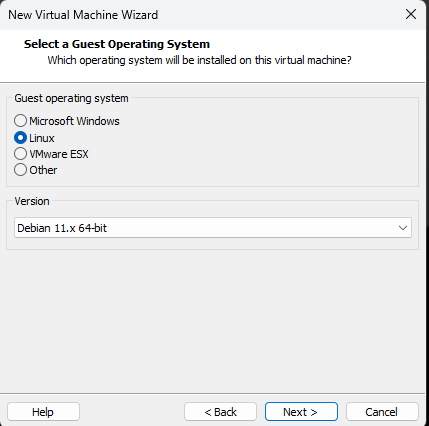
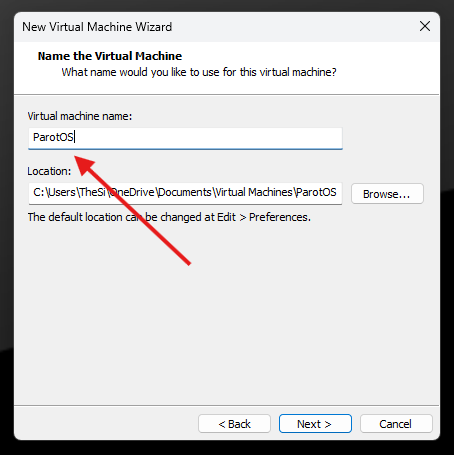
Open VMware Workstation Pro and select Create a New Virtual Machine. Choose the Custom (Advanced) option, set the hardware compatibility to Workstation 17.x, and select Install OS later. Choose Linux → Debian 10/11 (64-bit), name your VM, and select a storage location for the VM files.


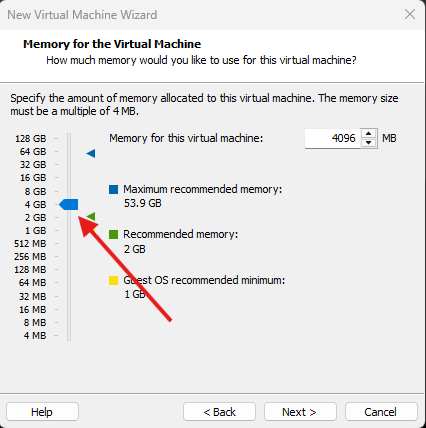
Step 4: Configure Resources and Boot
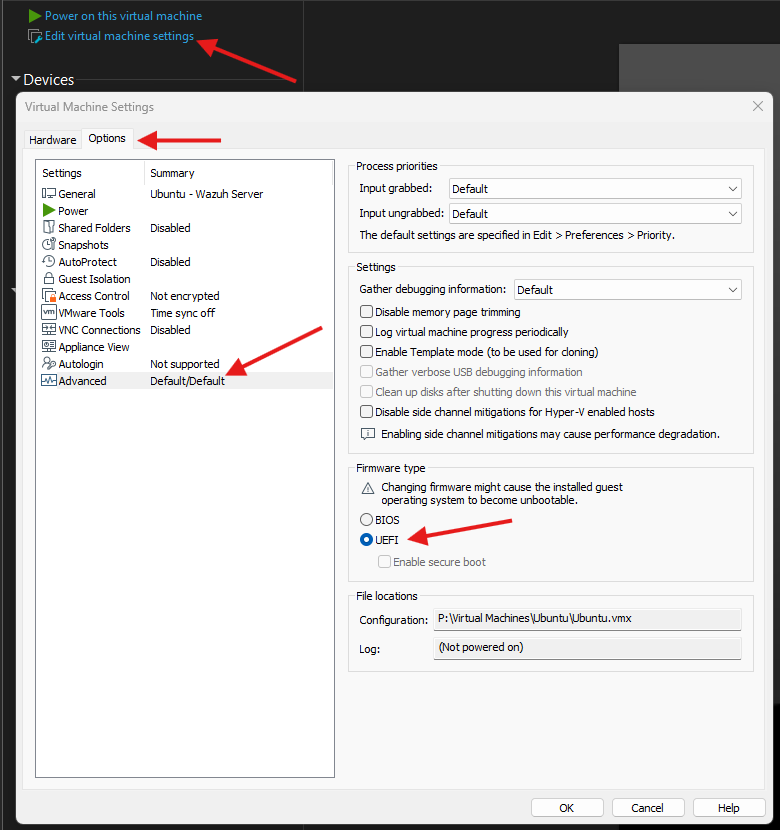
Allocate at least 4 GB of RAM and set the network adapter to NAT (Network Address Translation). Under the Disk settings, select Use existing virtual disk and point it to the downloaded Parrot OS VMDK file. Before booting, change the VM firmware type to UEFI under advanced options for improved compatibility.


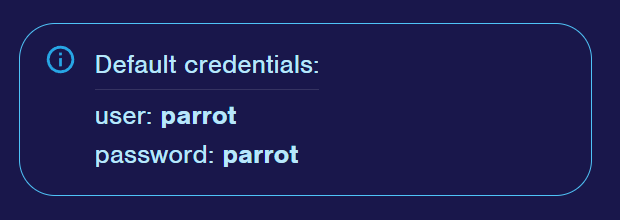
Once the VM is created, power it on. Log in using the default credentials noted on the Parrot OS download page.
Step 5: Update Your VM
Always update your distribution before starting to avoid compatibility issues and to ensure you have the latest tools and security patches.
Update package list
sudo apt update
Upgrade installed packages
sudo apt upgrade
🥳 You're ready to go!
Common Pitfalls and Best Practices
-
Misconfigured Network: Exposing your VM to the internet without proper isolation can leak sensitive data or put your host machine at risk.
-
Outdated Tools: Skipping updates leaves you with outdated tools and missing patches, which can cause failed scans or missed vulnerabilities during testing.
Key Takeaways
By setting up a Parrot OS lab in VMware Workstation Pro, you have a powerful and safe environment to practice ethical hacking, penetration testing, and incident response. This same process applies to nearly any OS you want to virtualize, allowing you to build out a complete cybersecurity home lab.
Additional Resources
Want to see this setup in action? Watch the accompanying YouTube tutorial above for a full step-by-step walkthrough.


